Dockerfile 构建部署dzzoffice
所需准备文件:
Dockerfile
php-fpm.conf
www.conf
nginx.conf
default.conf
sources.list
run.sh
index.php
一、准备配置文件 1、Dockerfile 1 2 3 4 5 6 7 8 9 10 11 12 13 14 15 16 17 18 19 20 21 22 23 24 25 26 27 28 29 30 31 32 33 34 35 36 37 38 39 40 41 42 43 44 45 46 47 48 49 50 51 52 53 54 55 56 57 58 59 60 FROM ubuntu:latestMAINTAINER XHT-20220410 ENV VERSION 2.02 .1 EXPOSE 80 WORKDIR /var/www/html ADD run.sh /mnt/run.sh ADD index.php /var/www/html ADD sources.list /etc/apt/sources.list RUN apt-get upgrade -y RUN apt-get update -y RUN apt-get install language-pack-en-base -y \ && apt-get install software-properties-common -y \ && apt-get install curl -y \ && locale-gen en_US.UTF-8 \ && LC_ALL=en_US.UTF-8 add-apt-repository ppa:ondrej/php \ && apt-get -y install php7.4 \ php7.4-mysql \ php7.4-fpm \ php7.4-curl \ php7.4-xml \ php7.4-mcrypt \ php7.4-json \ php7.4-gd \ php7.4-zip \ php7.4-mbstring RUN apt-get install nginx -y ADD php-fpm.conf /usr/local/php/etc/ ADD www.conf /usr/local/php/etc/php-fpm.d/ ADD default.conf /etc/nginx/conf.d/ ADD nginx.conf /etc/nginx/nginx.conf ADD php.ini /etc/php/7.4/fpm/ ADD php.ini /etc/php/7.4/cli/ RUN mkdir /run/php/ RUN chown www-data:www-data /run/php RUN chmod 777 /mnt/run.sh RUN chown www-data:www-data /var/www/html/* -R \ && chmod 777 /var/www/html/* -R CMD ["/mnt/run.sh" ]
2、php-fpm.conf 1 2 3 4 5 6 7 8 9 10 11 12 13 14 15 16 17 18 19 20 21 22 23 24 25 26 27 28 29 30 31 32 33 34 35 ;;;;;;;;;;;;;;;;;;;;; ; FPM Configuration ; ;;;;;;;;;;;;;;;;;;;;; ; All relative paths in this configuration file are relative to PHP's install ; prefix (/usr/local/php). This prefix can be dynamically changed by using the ; ' -p' argument from the command line. ;;;;;;;;;;;;;;;;;; ; Global Options ; ;;;;;;;;;;;;;;;;;; [global] ; Pid file ; Note: the default prefix is /usr/local/php/var ; Default Value: none ;pid = run/php-fpm.pid ; Error log file ; If it' s set to "syslog" , log is sent to syslogd instead of being written; into a local file. ; Note: the default prefix is /usr/local/php/var ; Default Value: log /php-fpm.log ;error_log = log /php-fpm.log ; syslog_facility is used to specify what type of program is logging the ; message. This lets syslogd specify that messages from different facilities ; will be handled differently. ; See syslog(3) for possible values (ex daemon equiv LOG_DAEMON) ; Default Value: daemon ;syslog.facility = daemon ;这里要设置成no,php-fpm运行到前台 daemonize = no include=/usr/local/php/etc/php-fpm.d/*.conf
1 2 3 4 5 6 7 8 9 10 11 [www-date] user = www-data group = www-data listen.owner = www-data listen.group = www-data listen.mode = 0666 pm = dynamic pm.max_children = 5 pm.start_servers = 2 pm.min_spare_servers = 1 pm.max_spare_servers = 3
4、nginx.conf 1 2 3 4 5 6 7 8 9 10 11 12 13 14 15 16 17 18 19 20 21 22 23 24 user www-data; worker_processes auto; pid /run/nginx.pid; events { worker_connections 768; } http { sendfile on; tcp_nopush on; tcp_nodelay on; keepalive_timeout 65; types_hash_max_size 2048; client_max_body_size 500M; include /etc/nginx/mime.types; default_type application/octet-stream; ssl_protocols TLSv1 TLSv1.1 TLSv1.2 TLSv1.3; ssl_prefer_server_ciphers on; access_log /var/log/nginx/access.log; error_log /var/log/nginx/error.log; gzip on; include /etc/nginx/conf.d/*.conf; }
5、default.conf 1 2 3 4 5 6 7 8 9 10 11 12 13 14 15 16 17 18 19 20 21 22 23 24 25 26 27 28 29 30 31 server { listen 80; server_name localhost; location / { root /var/www/html; index index.php index.html index.htm; if (!-e $request_filename ) { rewrite ^(.*)$ /index.php?s=/$1 last; break ; } } error_page 500 502 503 504 /50x.html; location = /50x.html { root /usr/share/nginx/html; } location ~ \.php$ { root /var/www/html; fastcgi_split_path_info ^(.+\.php)(/.+)$; fastcgi_pass unix:/var/run/php/php7.4-fpm.sock; fastcgi_index index.php; include fastcgi_params; fastcgi_param SCRIPT_FILENAME $document_root$fastcgi_script_name ; fastcgi_param PATH_INFO $fastcgi_path_info ; } }
6、sources.list 使用华为国内镜像站加速
1 2 3 4 5 6 7 8 9 10 deb http://repo.huaweicloud.com/ubuntu/ focal main restricted deb http://repo.huaweicloud.com/ubuntu/ focal-updates main restricted deb http://repo.huaweicloud.com/ubuntu/ focal universe deb http://repo.huaweicloud.com/ubuntu/ focal-updates universe deb http://repo.huaweicloud.com/ubuntu/ focal multiverse deb http://repo.huaweicloud.com/ubuntu/ focal-updates multiverse deb http://repo.huaweicloud.com/ubuntu/ focal-backports main restricted universe multiverse deb http://repo.huaweicloud.com/ubuntu focal-security main restricted deb http://repo.huaweicloud.com/ubuntu focal-security universe deb http://repo.huaweicloud.com/ubuntu focal-security multiverse
7、run.sh 1 2 3 4 #!/bin/bash nginx php-fpm7.4 tail -f /dev/null
8、index.php 1 2 3 <?php echo ("hello world!" );?>
二、打包 docker image 1 docker build -f Dockerfiel -t dzzoffice .
三、启动容器 1 2 3 4 5 docker run -d \ --name dzzoffice \ -p 7009:80 \ -v /mnt/docker_data/wwwroot/dzzoffice:/var/www/html \ dzzoffice
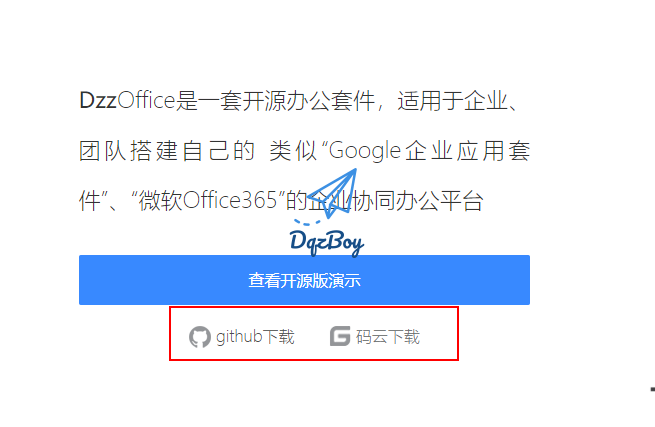
手动搭建-DzzOffice 一、程序简介 DzzOffice 是一套开源办公套件,适用于企业、团队搭建自己的 类似“Google企业应用套件”、“微软Office365”的企业协同办公平台。
官网地址:http://www.dzzoffice.com/
LNMP环境一键部署脚本,可在本文底部获取!!
二、功能介绍 开源社区版本包含如下功能:
网盘:企业、团队文件集中管理
文档:在线Word协作工具
表格:在线Excel协作工具
演示文稿:在线PPT协作工具
记录:能够多人参与协作的记录本
新闻:文章系统,可用于企业新闻、通知等用途
通讯录:企业人员联系方式查询
文集:通过树形目录有序管理文档
相册:企业图片管理工具
任务板:任务管理、团队协作工具
讨论板:企业内部论坛
表单:表单、问卷工具
FTP/SFTP:文件上传等
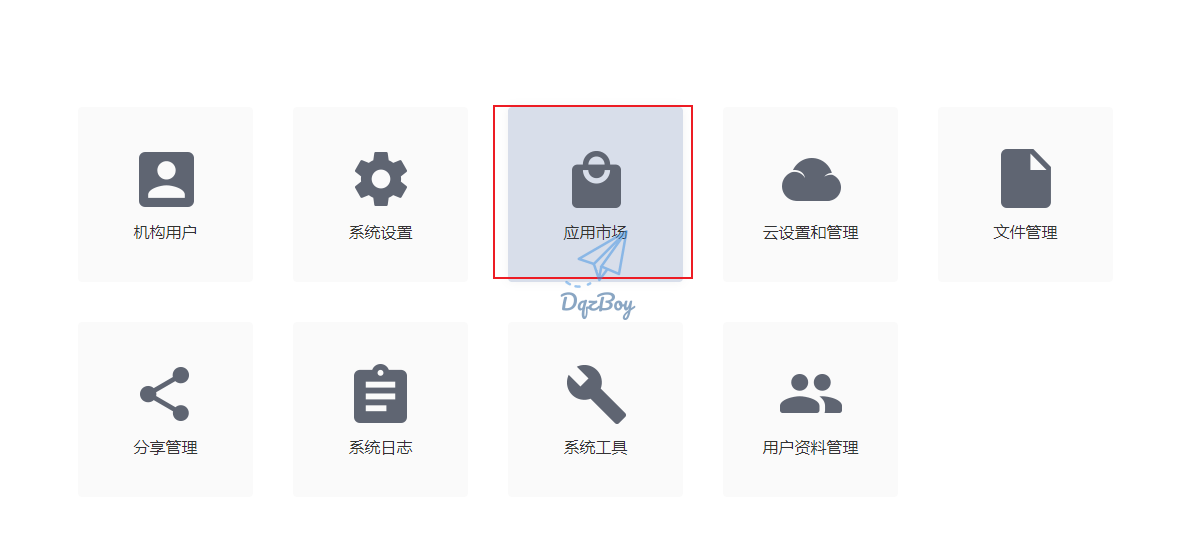
应用市场:在线安装自己所需组件,支持一键安装
三、环境准备 LNMP环境一键部署脚本,脚本部署说明:
Nginx:最新稳定版
MySQL:5.7+\8.0+
PHP:PHP74\PHP80
Redis:5.6+\6.0+\7.0+
1 2 3 #脚本执行用户必须为root,授予脚本执行权限执行 chmod +x lnmp+redis_install ./lnmp+redis_install
注: 此脚本只适合CentOS 7系统使用;脚本执行完成后,您可直接参照本文第四章节第4小节部署程序即可!
1、关闭防火墙 1 2 3 4 5 6 7 8 9 10 11 12 # 检查防火墙是否运行 firewall-cmd --state # 如果防火墙运行,则执行下面的命令关闭 systemctl stop firewalld && systemctl disable firewalld && systemctl status firewalld #检查SELinux是否运行,必须关闭 getenforce #如果SELinux运行,则执行下面的命令将永久其关闭 sed -ri 's/SELINUX=enforcing/SELINUX=disabled/' /etc/selinux/config setenforce 0 && getenforce
2、安装工具 1 yum -y install gcc gcc-c++ libaio make cmake zlib-devel openssl-devel pcre pcre-devel wget git curl lynx lftp mailx mutt rsync ntp net-tools vim lrzsz screen sysstat yum-plugin-security yum-utils createrepo bash-completion zip unzip bzip2 tree tmpwatch pinfo man-pages lshw pciutils gdisk system-storage-manager git gdbm-devel sqlite-devel
四、安装部署 1、部署Nginx
1.1:下载安装
1 2 3 [root@localhost ~]# mkdir /opt/soft [root@localhost ~]# cd /opt/soft/ [root@localhost soft]# rpm -ivh nginx-1.18.0-1.el7.ngx.x86_64.rpm
1.2:修改配置
1 2 3 4 5 6 7 8 9 10 11 12 13 14 15 16 17 18 19 20 21 22 23 24 25 26 27 28 29 30 31 32 33 34 35 36 37 38 39 40 41 42 43 44 45 46 47 48 49 50 51 52 53 54 55 56 57 58 59 60 61 62 63 64 65 66 67 68 69 70 71 72 73 74 75 76 77 78 79 80 81 82 83 84 85 86 87 88 89 90 91 92 93 94 95 96 [root@localhost ~]# vim /etc/nginx/nginx.conf #user nobody; worker_processes auto; worker_cpu_affinity auto; worker_rlimit_nofile 65535; events { use epoll; worker_connections 65535; accept_mutex on; multi_accept on; } http { include mime.types; default_type application/octet-stream; sendfile on; tcp_nopush on; tcp_nodelay on; server_tokens on; keepalive_timeout 65; charset utf-8; types_hash_max_size 2048; client_max_body_size 500M; //上传文件大小标准 client_body_timeout 120; //上传文件超时时间 gzip on; gzip_min_length 1k; gzip_vary on; gzip_proxied any; gzip_comp_level 6; gzip_types text/plain application/javascript application/x-javascript text/css application/xml text/javascript application/x-httpd-php image/jpeg image/gif image/png; include /etc/nginx/conf.d/*.conf; } [root@localhost ~]# vim /etc/nginx/nginx.conf #user nobody; worker_processes 4; #根据实际CPU核数配置 worker_cpu_affinity auto; worker_rlimit_nofile 65535; events { use epoll; worker_connections 65535; accept_mutex on; multi_accept on; } http { include mime.types; default_type application/octet-stream; sendfile on; tcp_nopush on; tcp_nodelay on; server_tokens on; keepalive_timeout 65; charset utf-8; types_hash_max_size 2048; client_max_body_size 16M; gzip on; gzip_min_length 1k; gzip_vary on; gzip_proxied any; gzip_comp_level 6; gzip_types text/plain application/javascript application/x-javascript text/css application/xml text/javascript application/x-httpd-php image/jpeg image/gif image/png; include /etc/nginx/conf.d/*.conf; } #将下面默认的配置内容全部删除,然后将下面的配置文件复制黏贴进去,注意文件存储路径修改为自己存储的路径 [root@localhost ~]# echo > /etc/nginx/conf.d/default.conf [root@localhost ~]# vim /etc/nginx/conf.d/default.conf server { listen 80; server_name localhost; root /var/www/dzzoffice; #dzzoffice文件存储的路径 location / { index index.php index.html index.htm; } location ~ \.php$ { fastcgi_pass 127.0.0.1:9000; #php服务的地址 fastcgi_index index.php; fastcgi_param SCRIPT_FILENAME $document_root$fastcgi_script_name; fastcgi_connect_timeout 300; fastcgi_send_timeout 300; fastcgi_read_timeout 300; include fastcgi_params; } error_page 500 502 503 504 /50x.html; location = /50x.html { root /usr/share/nginx/html; } } [root@localhost ~]# mkdir -p /var/www/dzzoffice [root@localhost ~]# chown -R nginx. /var/www/dzzoffice
1.3:启动程序
1 2 3 4 [root@localhost ~]# systemctl start nginx [root@localhost ~]# systemctl enable nginx [root@localhost ~]# firewall-cmd --permanent --zone=public --add-port=80/tcp [root@localhost ~]# firewall-cmd --reload
2、部署MySQL
我这块采用RPM包的方式安装MySQL,MySQL版本为5.7.30
下载地址:
2.1:下载
1 2 3 4 5 6 7 8 9 10 11 12 13 [root@localhost soft]# wget http://mirror.centos.org/centos/6/os/x86_64/Packages/libaio-0.3.107-10.el6.x86_64.rpm [root@localhost soft]# wget https://mirrors.tuna.tsinghua.edu.cn/mysql/yum/mysql-5.7-community-el7-x86_64/mysql-community-common-5.7.30-1.el7.x86_64.rpm [root@localhost soft]# wget https://mirrors.tuna.tsinghua.edu.cn/mysql/yum/mysql-5.7-community-el7-x86_64/mysql-community-libs-5.7.30-1.el7.x86_64.rpm [root@localhost soft]# wget https://mirrors.tuna.tsinghua.edu.cn/mysql/yum/mysql-5.7-community-el7-x86_64/mysql-community-libs-compat-5.7.30-1.el7.x86_64.rpm [root@localhost soft]# wget https://mirrors.tuna.tsinghua.edu.cn/mysql/yum/mysql-5.7-community-el7-x86_64/mysql-community-devel-5.7.30-1.el7.x86_64.rpm [root@localhost soft]# wget https://mirrors.tuna.tsinghua.edu.cn/mysql/yum/mysql-5.7-community-el7-x86_64/mysql-community-client-5.7.30-1.el7.x86_64.rpm [root@localhost soft]# wget https://mirrors.tuna.tsinghua.edu.cn/mysql/yum/mysql-5.7-community-el7-x86_64/mysql-community-server-5.7.30-1.el7.x86_64.rpm
2.2:安装
1 2 [root@localhost soft]# rpm -ivh libaio-0.3.107-10.el6.x86_64.rpm [root@localhost soft]# yum -y install mysql-community-*
2文章来源(Source):浅时光博客.3:启动
1 2 [root@localhost soft]# systemctl start mysqld [root@localhost soft]# systemctl enable mysqld
2.4:配置
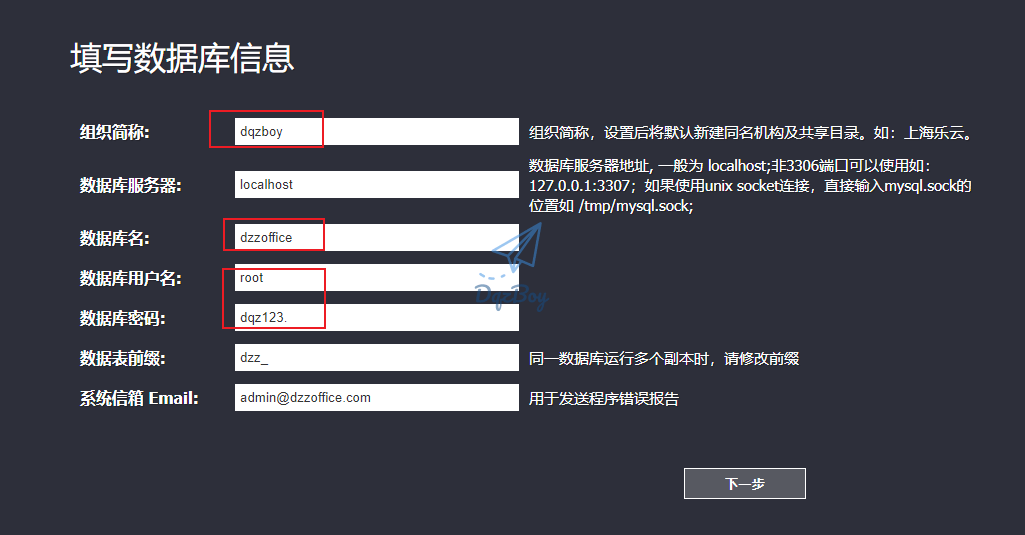
1 2 3 4 5 6 7 8 9 10 11 12 13 14 #重置ROOT密码 [root@localhost ~]# cat /var/log/mysqld.log |grep password [root@localhost ~]# mysql -uroot -p Enter password: mysql> set global validate_password_policy=0; mysql> set global validate_password_number_count=0; mysql> set global validate_password_special_char_count=0; mysql> ALTER USER 'root'@'localhost' IDENTIFIED BY 'dqz123.'; #创建DzzOffice库 mysql> CREATE DATABASE `dzzoffice` CHARACTER SET utf8mb4 COLLATE utf8mb4_general_ci; #我这里直接使用root账号了,建议生产环境单独创建一个DzzOffice的用户
3、部署PHP
3.1:添加YUM源
1 2 3 4 5 6 7 [root@localhost ~]# yum -y install epel-release [root@localhost ~]# rpm -ivh http://rpms.famillecollet.com/enterprise/remi-release-7.rpm #安装依赖 [root@localhost ~]# rpm -Uvh http://download-ib01.fedoraproject.org/pub/epel/7/x86_64/Packages/l/libargon2-20161029-3.el7.x86_64.rpm [root@localhost ~]# yum install libargon2
3.2:安装程序
1 2 3 4 5 6 7 8 9 [root@localhost ~]# yum --enablerepo=remi install php74-php php74-php-pear php74-php-bcmath php74-php-pecl-jsond-devel php74-php-mysqlnd php74-php-gd php74-php-common php74-php-fpm php74-php-intl php74-php-cli php74-php php74-php-xml php74-php-opcache php74-php-pecl-apcu php74-php-pdo php74-php-gmp php74-php-process php74-php-pecl-imagick php74-php-devel php74-php-mbstring php74-php-zip php74-php-ldap php74-php-imap php74-php-pecl-mcrypt [root@localhost ~]# vim /etc/profile export PATH=/opt/remi/php74/root/usr/bin:$PATH [root@localhost ~]# source /etc/profile [root@localhost ~]# ln -sv /opt/remi/php74/root/bin/php /usr/bin/php [root@localhost ~]# php -v
3.3:修改配置
1 2 3 4 5 6 7 8 9 10 #如果你运行的是nginx而不是apache,修改 [root@localhost ~]# vim /etc/opt/remi/php73/php-fpm.d/www.conf #更改为nginx用户和组 user = nginx group = nginx #修改php文件上传大小限制,dzzoffice建议50M以上 [root@localhost ~]# vim /etc/opt/remi/php74/php.ini upload_max_filesize= 50M //这个是文件上传大小限制 post_max_size=50M //这个是post请求大小限制
3.4:启动服务
1 2 [root@localhost ~]# systemctl start php74-php-fpm.service [root@localhost ~]# systemctl enable php74-php-fpm.service
4、部署DzzOffice 4.1:下载部署
上面github与码云都可以进行下载,比如我这里通过github去下载
1 2 3 4 5 6 7 [root@localhost soft]# tar -xf dzzoffice-2.02.1.tar.gz [root@localhost soft]# mv dzzoffice-2.02.1/* /var/www/dzzoffice/ [root@localhost soft]# chown -R nginx. /var/www/dzzoffice/ #重载Nginx配置 [root@localhost soft]# nginx -s reload
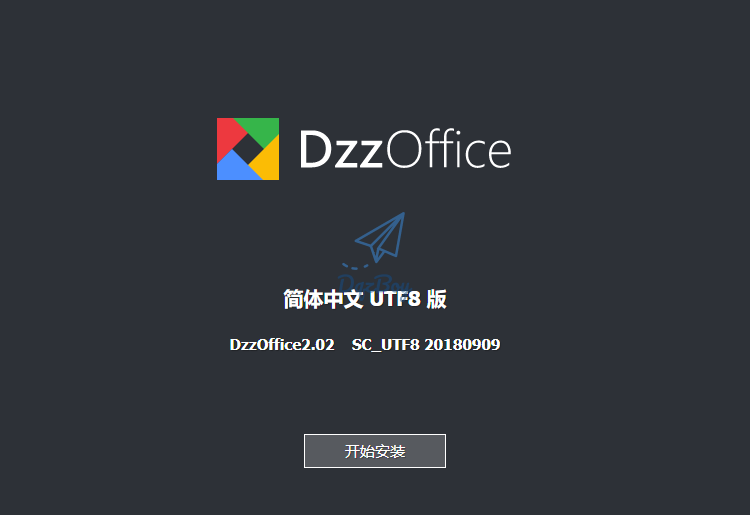
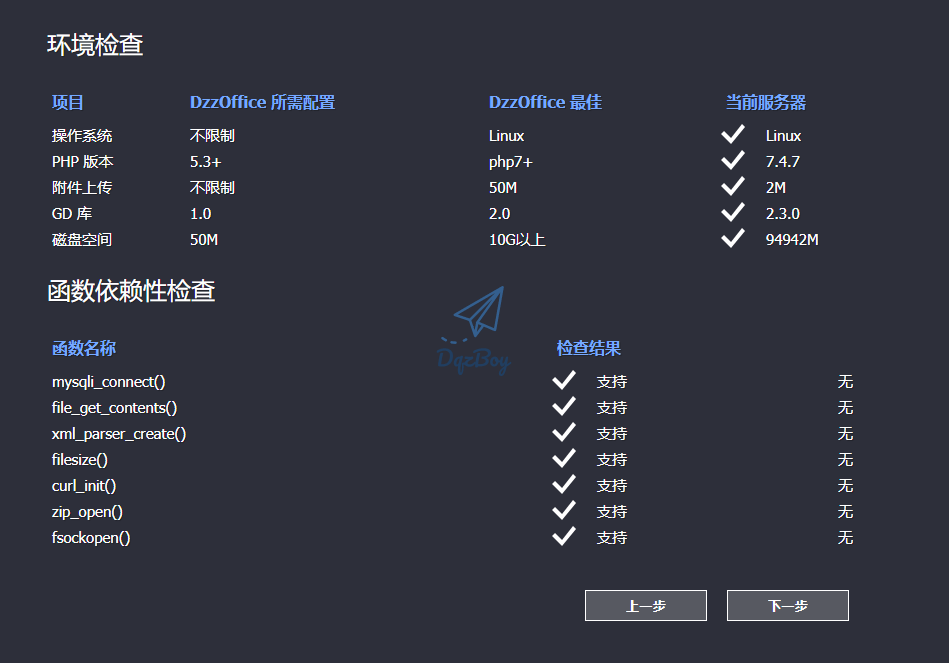
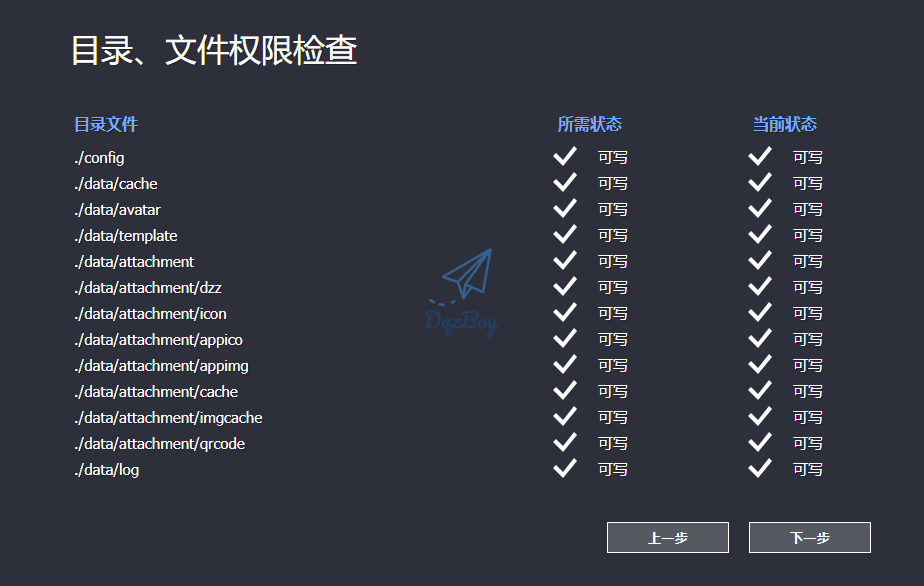
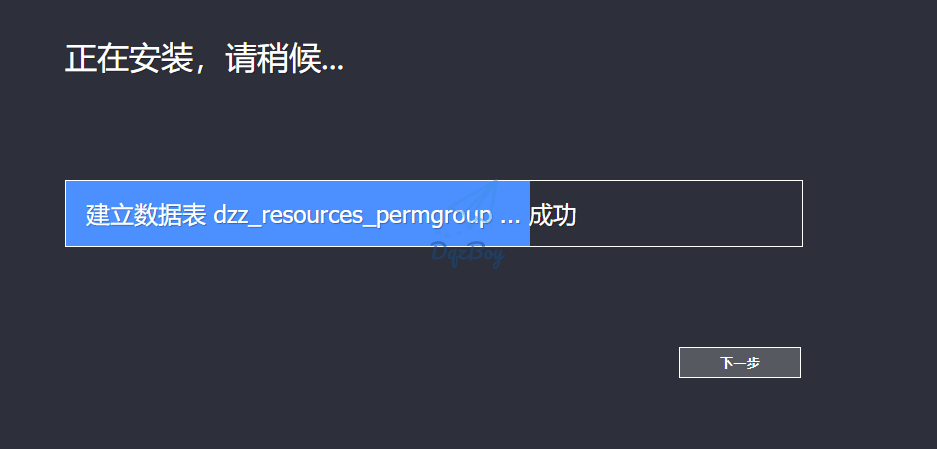
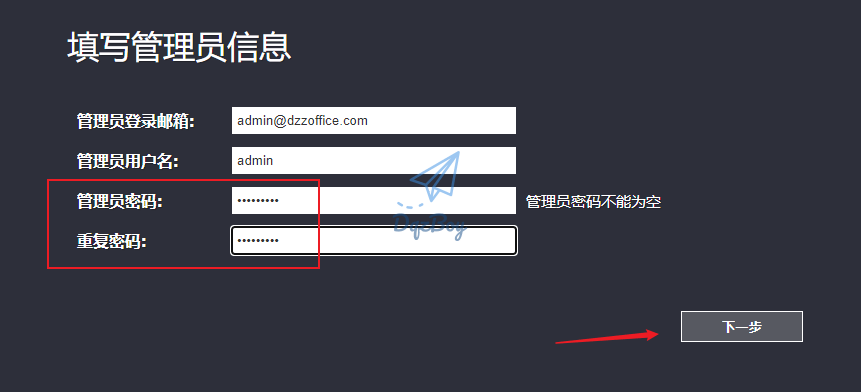
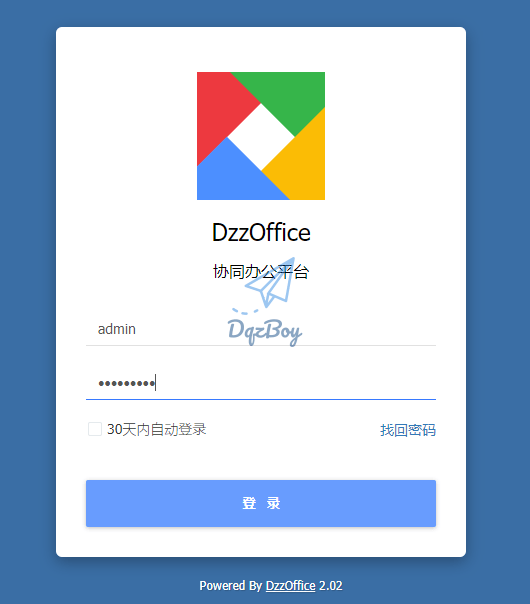
4.2:访问安装
因为上面我们是通过nginx代理托管的,所以直接输入IP地址进行访问安装
4.3:应用安装
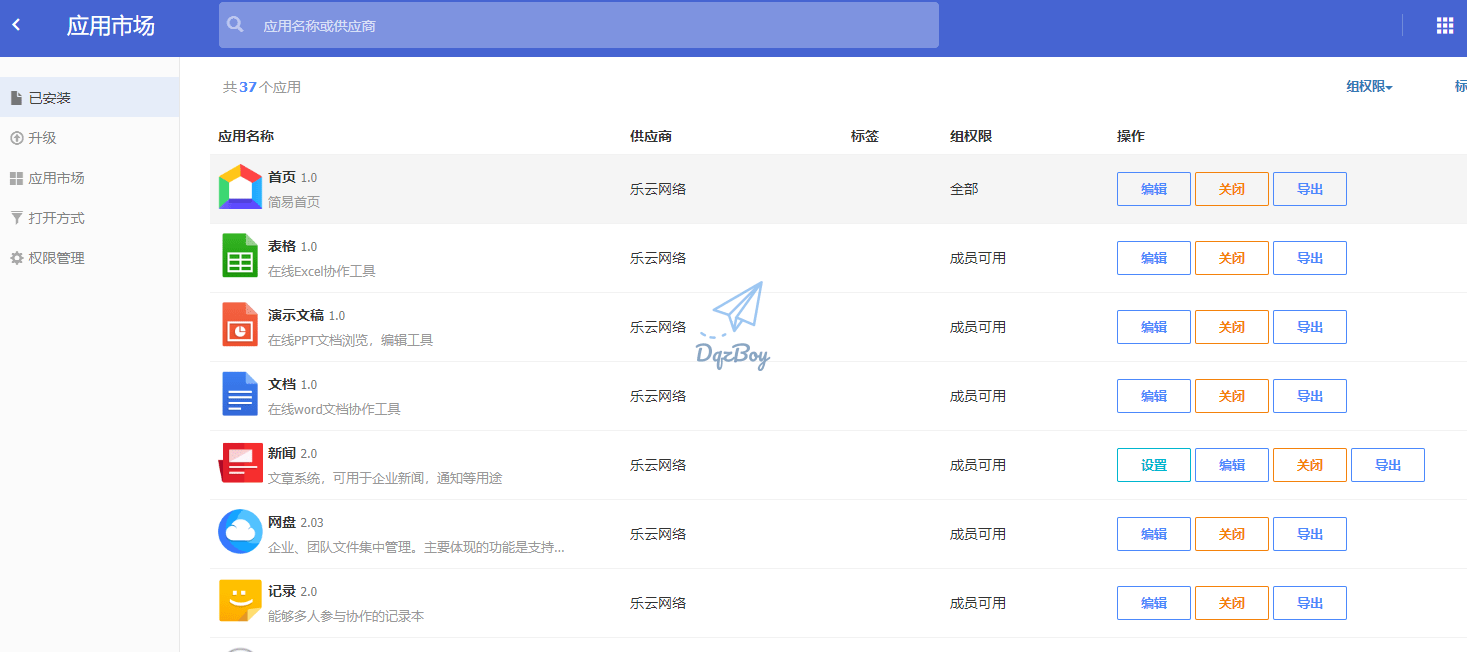
下图为我已经安装好的程序,如果没有安装则会显示【安装】按钮,安装完成后选择启用即可
