如何清除 DNS 缓存(macOS、FreeBSD、Ubuntu、CentOS、Windows)

1. Apple macOS
打开终端,输入如下命令:
1 | sudo killall -HUP mDNSResponder; sudo dscacheutil -flushcache |
参考:Reset the DNS cache in OS X
2. FreeBSD
FreeBSB 自带 nscd(Name Service Cache Daemon),默认没有启用。
运行如下命令启动 nscd 并设置为开机自动运行 (sysin):
1 | sudo service nscd enable && sudo service nscd start |
清除缓存即重启 nscd 服务:
1 | sudo service nscd restart |
3. Ubuntu
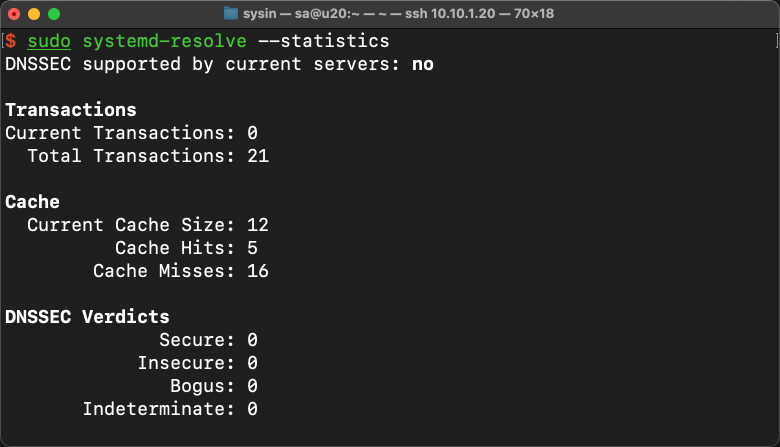
Ubuntu 默认运行 systemd-resolve daemon 用于名称服务缓存。
1 | # Step 1. 查看 DNS 缓存状况 |
备注:Ubuntu 也可以配置使用 nscd。
4. CentOS
CentOS 默认不存在 Client 端的 DNS 缓存。
参看:
通常使用 nscd 来启用 dns 缓存:
1 | yum -y install nscd |
清除缓存即重启 nscd 服务:
1 | systemctl restart nscd |
5. Microsoft Windows
清除 dns 缓存内容:
1 | ipconfig/flushdns |
查看 dns 缓存内容:
1 | ipconfig/displaydns |
Windows 下的 DNS Cache 是由 DNS Client 后台进程控制的,你可以在 “服务” 中将其关闭,这样 windows 就不会进行 DNS 缓存,每次都将直接查询 DNS Server。
附录:Linux 清除 DNS 缓存方法参考
Linux 可以运行 nscd 或者 BIND 或者 dnsmasq 作为名称服务缓存守护进程。
nscd
如果是清除 nscd 上的 Cache,可重新启动 nscd 服务来达成清除 DNS Cache 的效果:
1 | service nscd restart |
如果 nscd 无法执行,先安装 nscd,命令如下:sudo yum install nscd 或者 sudo apt install nscd
BIND
如果是清除 BIND 服务器上的 CACHE,用这个命令:
1 | rndc flush |
dnsmasq
如果你的 DNS 服务器是用 dnsmasq 实现的,用下面这个命令:
1 | service dnsmasq restart |
注:DNSmasq 是一个轻巧的,容易使用的 DNS 服务工具,它可以应用在内部网和 Internet 连接的时候的 IP 地址 NAT 转换,也可以用做小型网络的 DNS 服务。